On Saturday we decided, at the last minute, to take an Introduction to Felting course at the Anna Templeton Centre. We had no idea what felting was before we started, but we learned a lot about the process and made some felt!
Making felt
Felting/feltmaking has been around for thousands of years. Seriously. We hadn’t put any thought into this before but felt is known as the first man-made textile. Felt is made from the matting, condensing, and compacting of fleece fibers.
There are a few legends telling how felting started, and the one that was mentioned in our class was about a man who was carrying animal fleece on his camel, between the seat and the camel, as he rode it. When he arrived at his destination, the fleece had turned to felt through the pressure, movement, and moisture throughout the journey. There are also stories of people packing their sandals with wool to prevent blisters, and after the journey, the fleece had turned into felt. Nowadays, nomadic peoples still use feltmaking to create rugs, tents and clothing.
In our class, the first project we made to get us started was making a basic white piece of felt out of fleece. So how did we make it? Well we started off with a base to make the felt on – a table workspace covered with dishtowels laid flat, as well as bubble wrap, bubble side up, that was enough to completely fold over our project (we used 1 metre of it). And then we grabbed some Merino fleece.
Setting it up
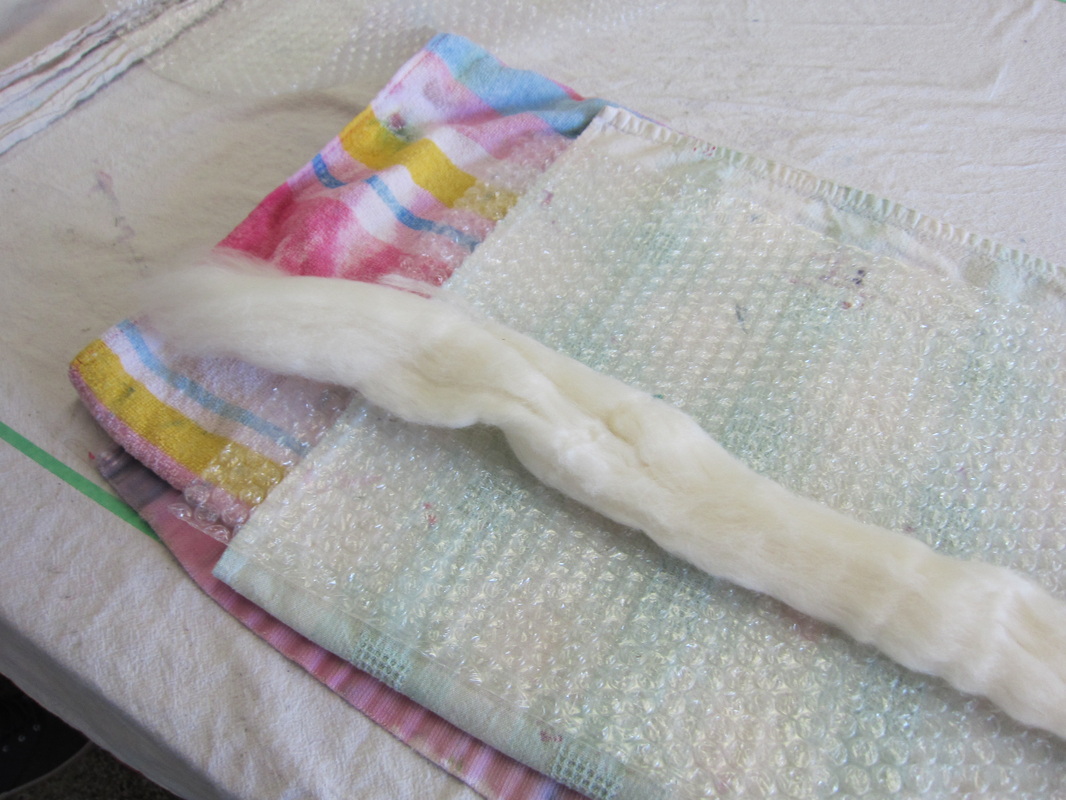
The next step in the process was to break the wool into 4-5 parts, because you need at least 4 layers of fleece to make felt. Then we had to pull apart the fibres to create a thin, even layer that we could basically see through. It is important to keep the fibers all in the same direction.
Pulling apart the fibres
We made 4 different layers of fleece, and laid them one on top of the other. The important part is that the direction of the fibers is rotated 90 degrees with every layer so that when the felting process begins, the fibers will latch on to one another. We made the layers of fleece on top of the bubble wrap workspace as that's where they need to be in the future.

Stacking the layers
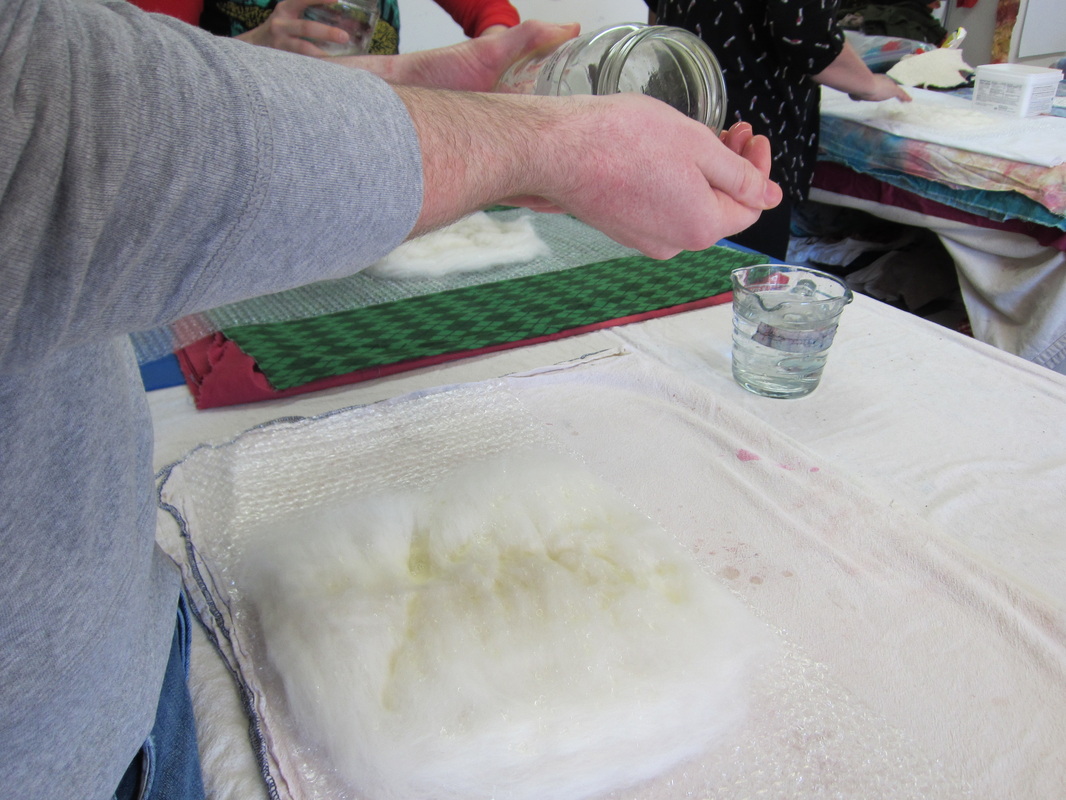
At the beginning of the class, our instructor made a mixture of a chopped up bar of Sunlight soap and hot water. This is basically the only additional thing that is needed for felting.
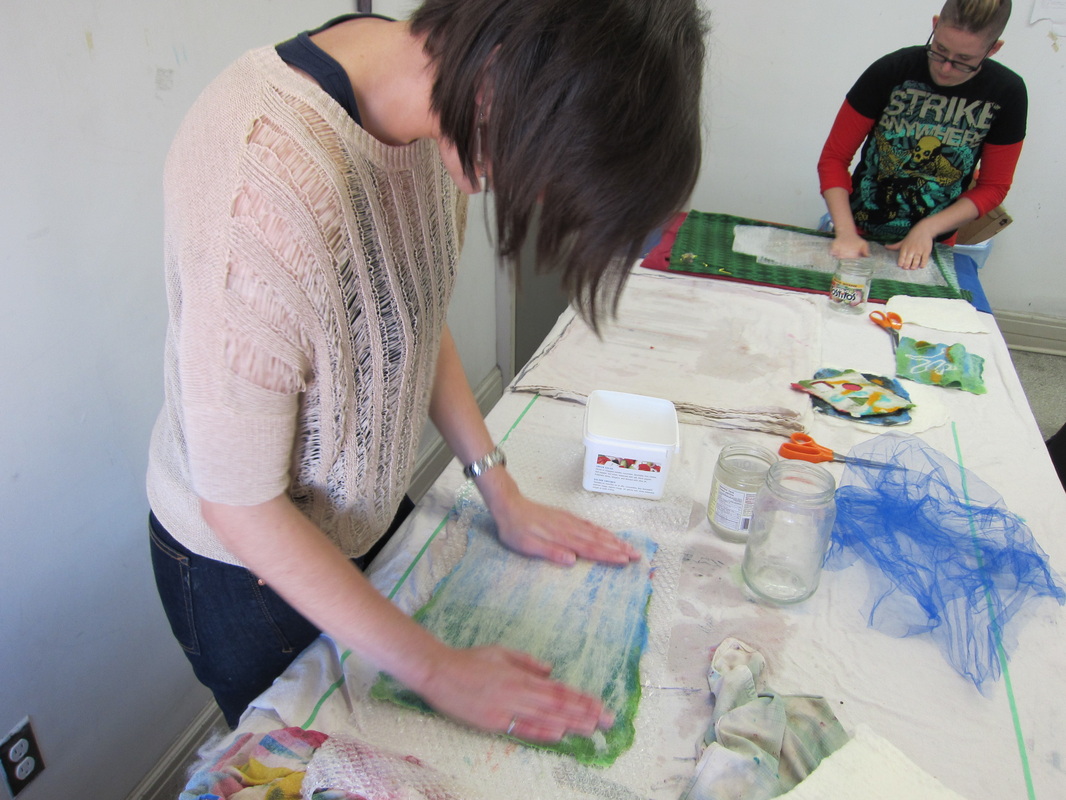
Once the layers are in place on top of the bubble wrap, it’s time to gently pour the Sunlight soap mixture on top of them, ensuring that the fibers stay in place. It can be slightly disconcerting, but don’t be scared (like Elizabeth). Once the fibres are wet, fold the top half of the bubble wrap over. Now it's time to rub, smooth, pat, and massage the fleece through the bubble wrap, flipping it over and smoothing the fleece itself every once in a while. That continues for 30 minutes...
Once the layers are in place on top of the bubble wrap, it’s time to gently pour the Sunlight soap mixture on top of them, ensuring that the fibers stay in place. It can be slightly disconcerting, but don’t be scared (like Elizabeth). Once the fibres are wet, fold the top half of the bubble wrap over. Now it's time to rub, smooth, pat, and massage the fleece through the bubble wrap, flipping it over and smoothing the fleece itself every once in a while. That continues for 30 minutes...
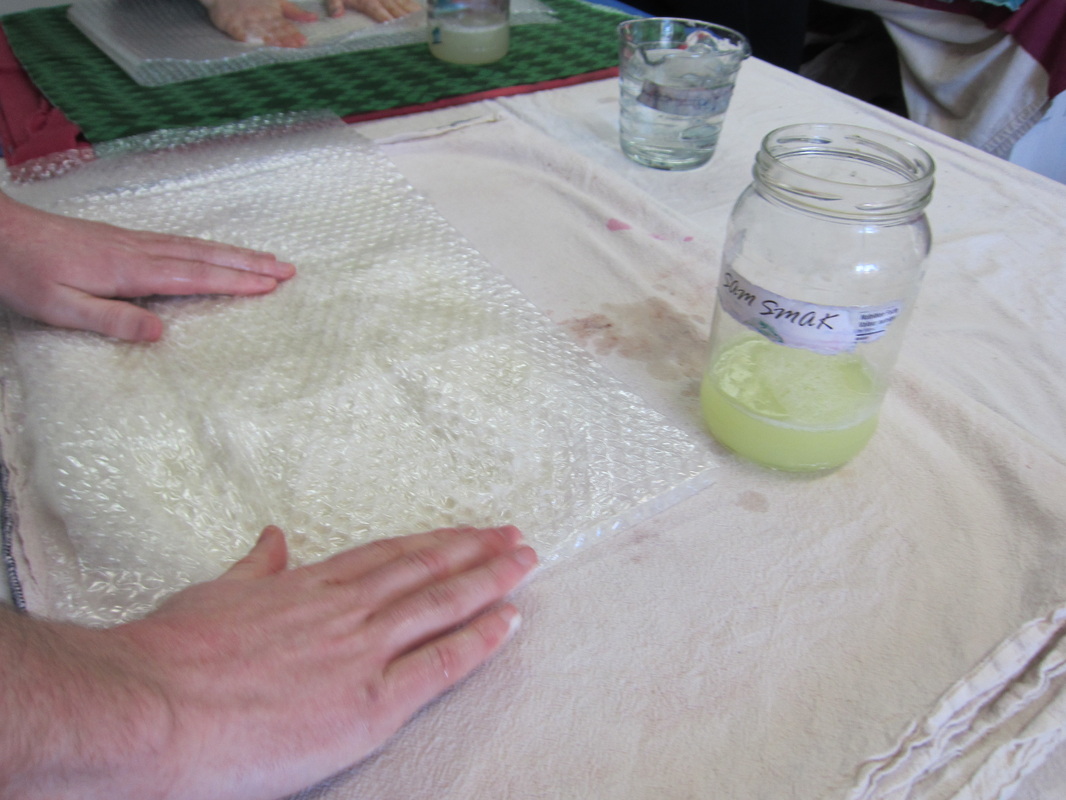
Now it's time to test the felt to see if it has taken by gently pulling it apart. If it seems like the fibres have attached to one another, then the felt needs to be be dipped in cold water followed by hot water, repeatedly.... et voilà!
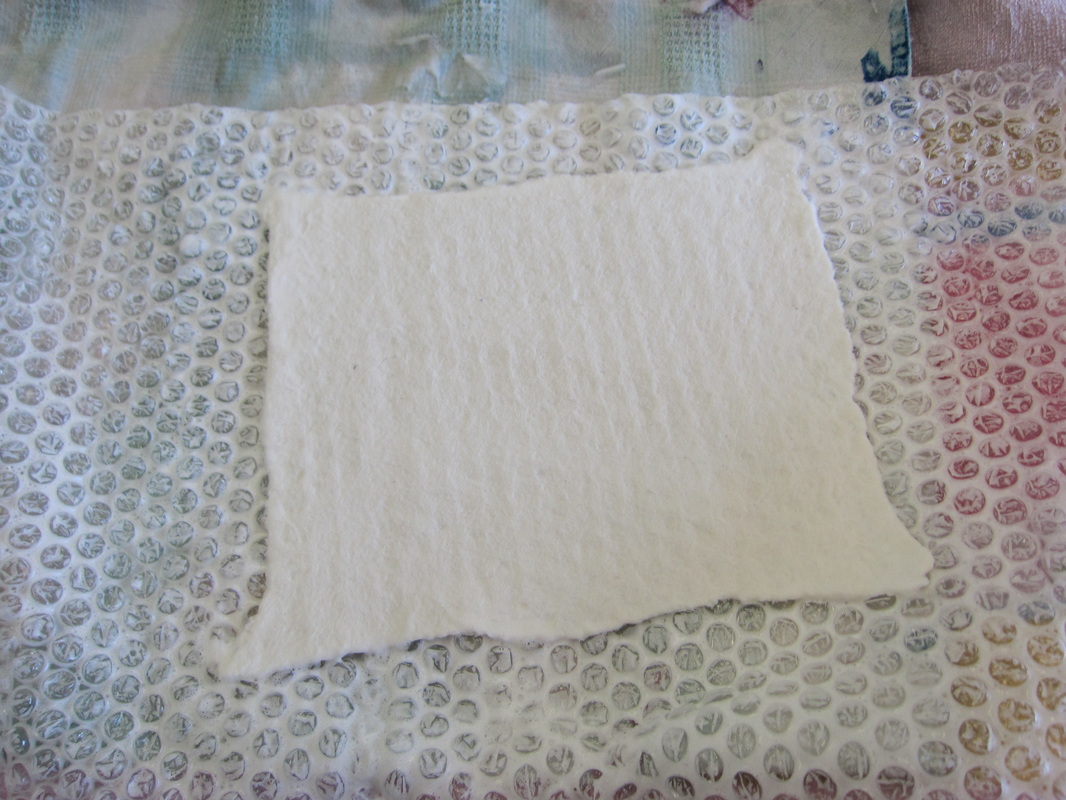
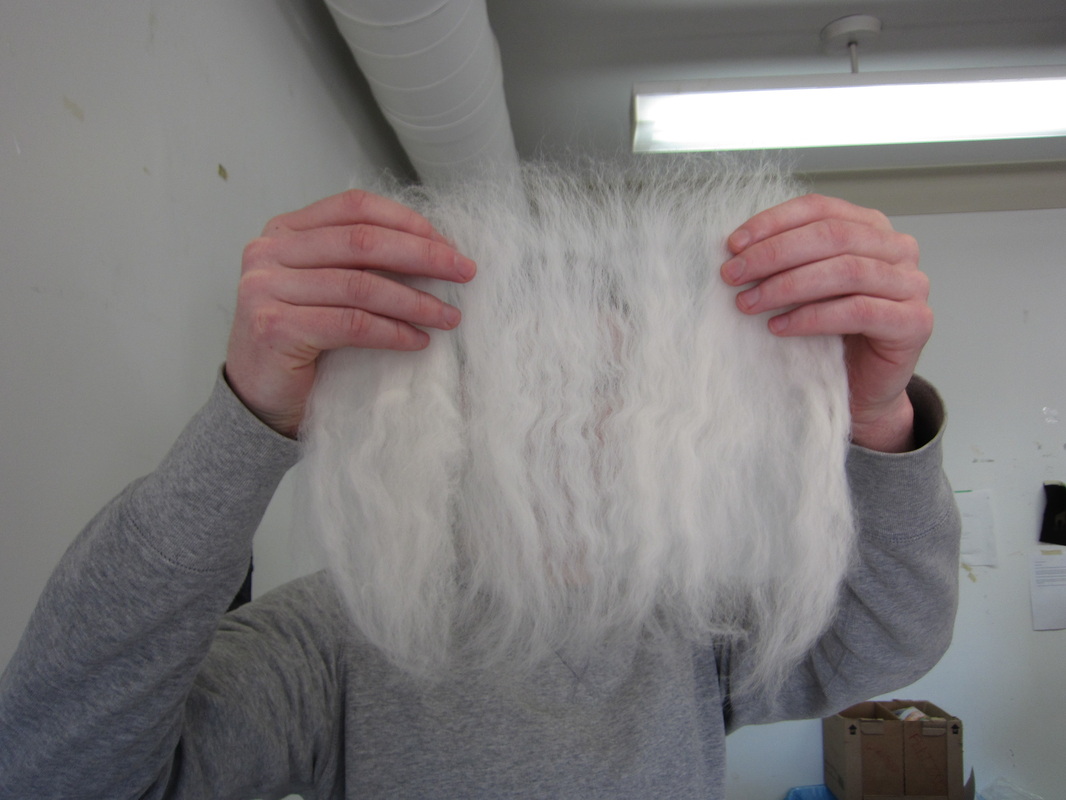
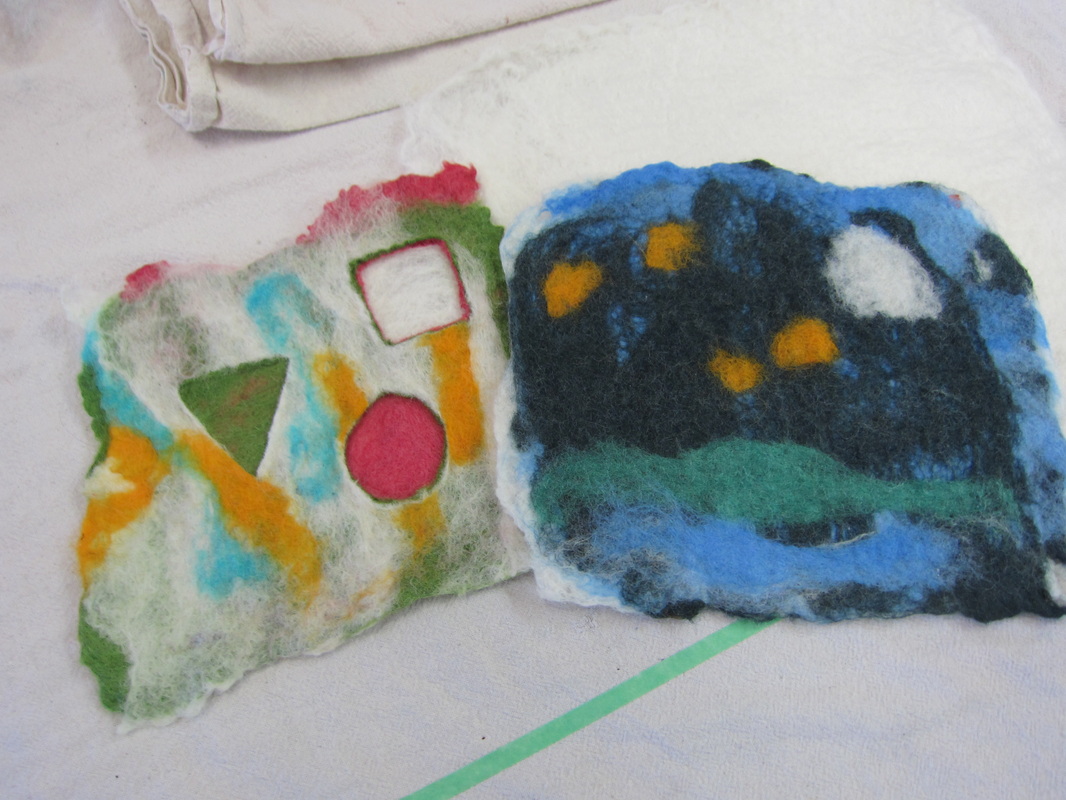
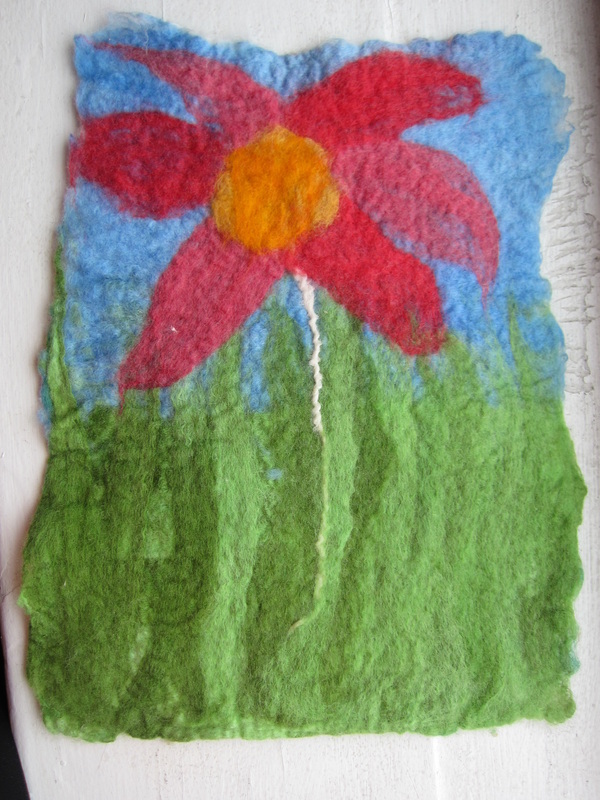
After we made the pieces of white felt, there was time for us to work on our own projects and experiment with some techniques. We had quite a few materials at our disposal as well as a variety of dyed fleece. We learned about "capturing" other materials inside of the fabric to create different effects, as well as hiding pieces of foam in between the layers of the felt so that when you cut the foam out after the felt has been created, the layers underneath are revealed.
As usual, Luke finished his project way before Elizabeth so he had the chance to make a second one in the extra time.
As usual, Luke finished his project way before Elizabeth so he had the chance to make a second one in the extra time.
Going into the class we had no clue what was in store for us - we didn't even know what felting was - but it was a unique experience and we learned how to make something new!
Here are some more pictures from our feltmaking class:
Here are some more pictures from our feltmaking class: